

How to Remove Text From an Image Without Blurring the Background
Learn why text removers blur images and use a precise, case-based workflow to keep textures, edges, and image quality intact.
On this page
- Why does the background look blurry after removing text?
- The four-step workflow
- Choose the method by background type
- Case 1: A title over a textured background
- Case 2: Text near a person or clothing edge
- Case 3: A date stamp near the edge of a photo
- How these synthetic examples were produced
- How to fix a result that still looks wrong
- What our Reddit research does and does not show
- Frequently asked questions
- Can text be removed without changing the background at all?
- Why does an AI eraser change areas I did not select?
- Is PNG always better than JPEG after text removal?
- Should I crop the text out instead?
- What images are hardest to clean?
To remove text from an image without blurring the background, keep the selection close to the letters, process one texture or line at a time, and inspect the result at 100% size. The tool must reconstruct pixels hidden by the text; it cannot recover detail that was never present. Small, deliberate edits give it more original context and reduce visible smearing, seams, and invented details. For a quick local edit, try the focused image text remover and compare the rebuilt area with the original.
This guide is for images you own or are allowed to edit. Keep the original file unchanged so you can compare the result and retry safely.
Why does the background look blurry after removing text?
A text remover usually detects or accepts a mask over the unwanted letters, then uses surrounding pixels to fill that masked area. A blurry result does not always mean the file lost pixels. It can also mean the new texture is less detailed than the original, a straight edge was reconstructed incorrectly, or the image was compressed again during export.
Four failure modes are especially common:
- The selection is too large. The editor must invent more of the image than necessary, so fine texture is replaced with a smooth patch.
- Text crosses different surfaces. One mask may cover fabric, skin, sky, and an object edge. Treating those surfaces as one region makes the fill less coherent.
- The hidden detail is unique. A face, logo shape, hand, line drawing, or product edge cannot always be inferred from nearby pixels.
- The output is recompressed. Repeated JPEG saves can soften the whole image even when the repaired area is acceptable.
These concerns recur in public user discussions. One Reddit user described an inpainting result as “not perfectly blended into the original image background,” while another said an eraser “always blurs the image behind it pretty bad.” Pixel owners have separately reported results that “look like a blurry mess” when automatic selection and reconstruction fail. These are individual reports rather than controlled benchmarks, but the repeated language identifies the result people actually care about: remove the text while keeping the background believable.
The four-step workflow
- Keep the original. Start with the highest-resolution JPG, PNG, or WebP you have. Duplicate it, and export the cleaned result as a new file.
- Zoom in and make a tight selection. Cover every visible part of each letter, including its outline and shadow, but include as little untouched background as possible.
- Remove one visual region at a time. Split separate lines and different background surfaces into separate edits. This limits how much the editor must reconstruct in one pass.
- Review at 100% before downloading. Compare the repaired area with nearby texture, edges, lighting, and repeated patterns. Then check the full image to catch broader quality loss.
The selection should be tight, not incomplete. Leaving part of a shadow or letter outline produces a halo; selecting a large rectangle around the whole caption asks the model to redraw too much. Aim for the smallest complete mask.
Choose the method by background type
| Image area behind the text | Best first approach | Main risk | What to inspect | | ------------------------------------- | -------------------------------------------- | --------------------------------------- | ------------------------------------- | | Flat color or open sky | One tight selection | Color banding or a visible patch | Smooth color transition | | Repeating texture, fabric, or foliage | One word or line per pass | Smearing or repeated texture tiles | Pattern scale and direction | | Straight edge or horizon | Split the text on either side of the edge | Bent or broken line | Alignment before and after the repair | | Face, hand, or product outline | Keep the important feature outside the mask | Altered identity or object shape | Contour and small details | | Manga or line art | Clean one bubble or lettering area at a time | Missing strokes or changed screen tones | Line continuity and tone density | | Old JPEG or scanned photo | Work from the least-compressed source | Amplified blocks, grain mismatch | Noise and grain consistency |
If the text sits on several rows of this table at once, do not use one large selection. Divide the task at the boundary between surfaces.
Case 1: A title over a textured background
Patterned fabric, wood grain, foliage, and masonry are harder than a flat background because the repair must continue both texture and structure. This synthetic brick-wall input tests a title crossing many mortar lines.
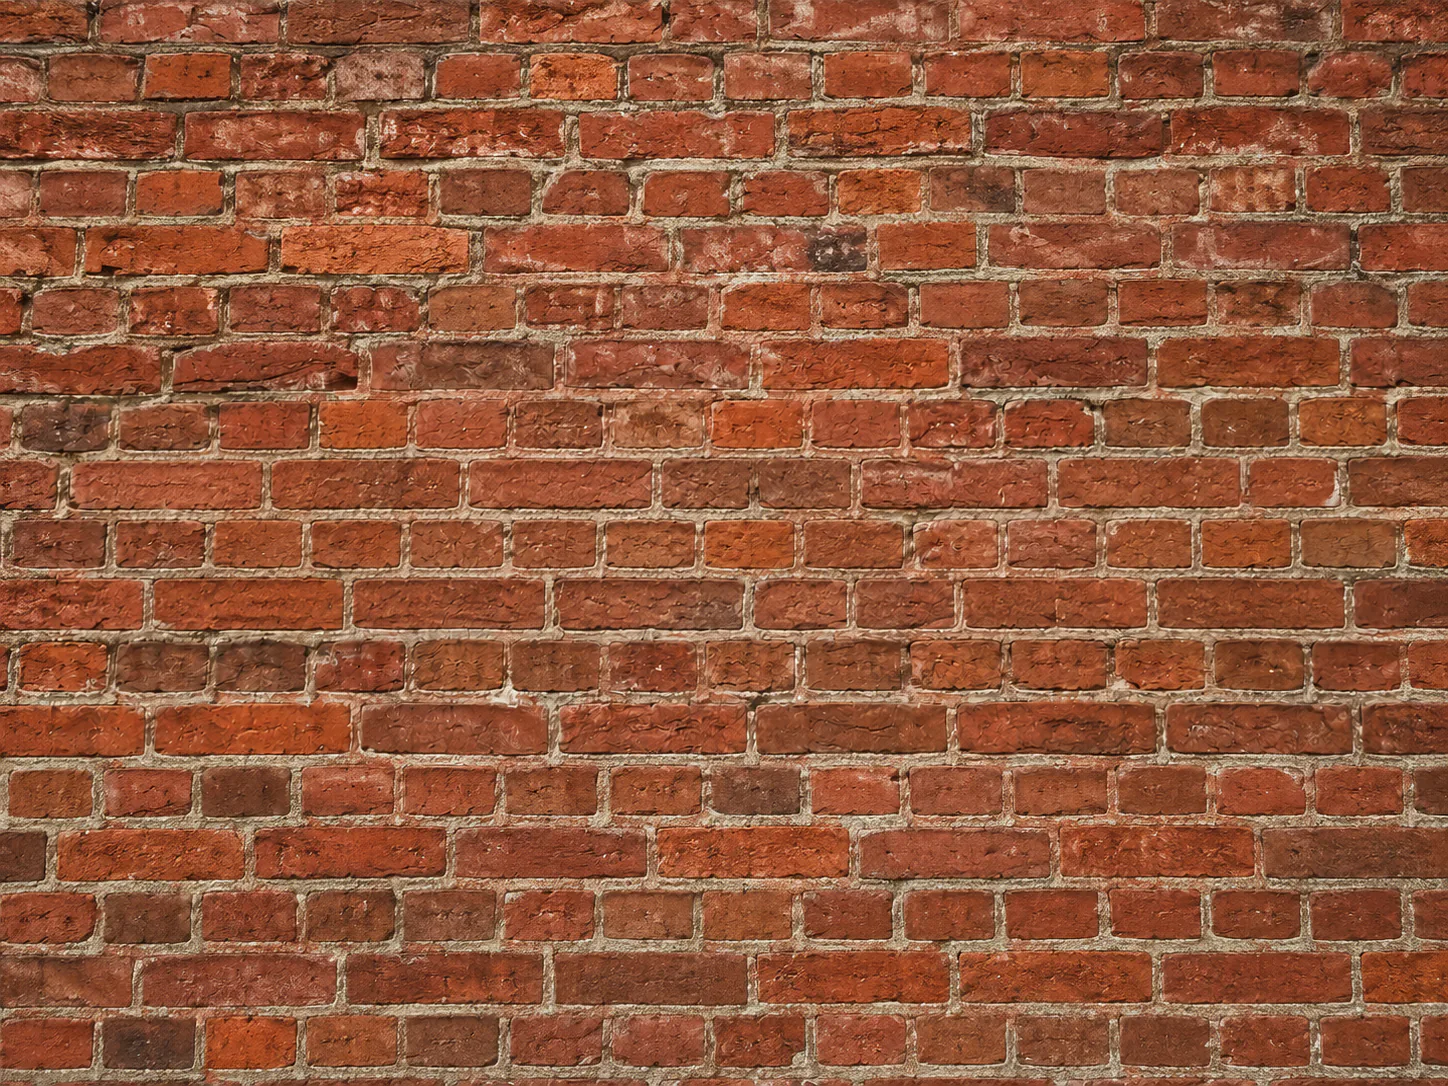

The words are no longer readable, but that alone is not proof of background fidelity. Inspect whether every mortar line keeps its direction and thickness and whether any bricks appear repeated or locally smoothed.
Case 2: Text near a person or clothing edge
When a label is close to a person, product outline, or clothing seam, leave as much of that important edge outside the selection as possible. The goal is to tell the editor what must disappear and, just as importantly, what must remain.

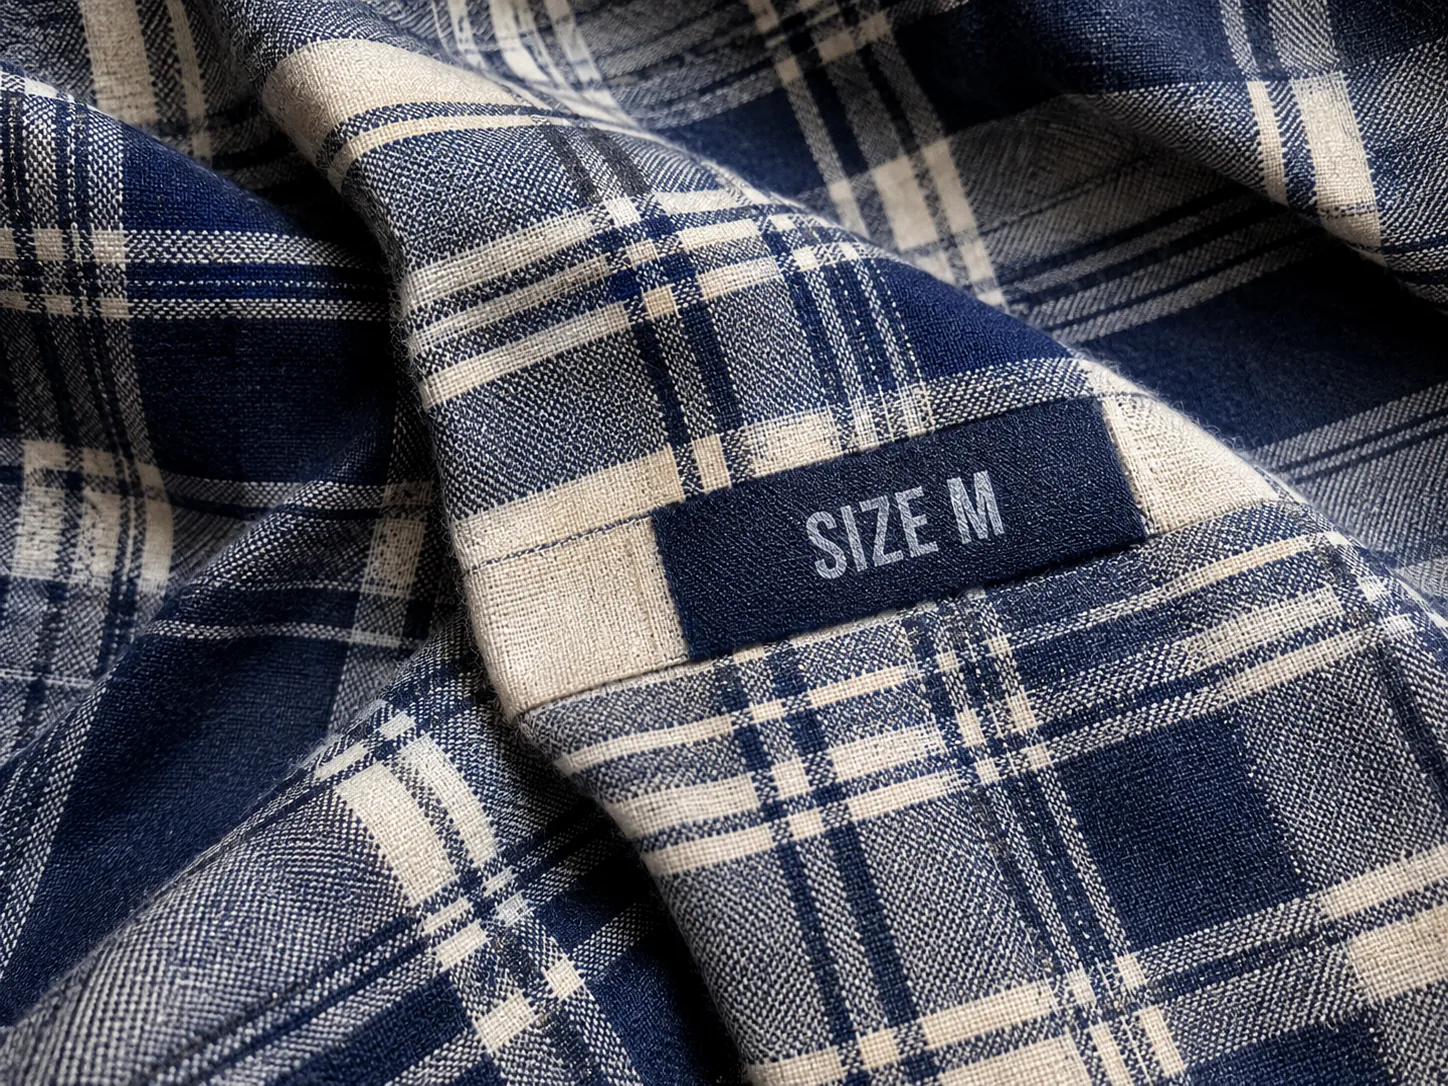
This is a reconstruction test, not advice to remove factual garment information. Review the checks, fold curvature, fibers, and seam. Text directly over a face, intricate clothing, or fine line work may still need manual retouching because the original pixels are hidden.
Case 3: A date stamp near the edge of a photo
Date stamps and small captions often appear in corners. Cropping removes part of the composition and can change the aspect ratio, so a focused repair is usually the better first option for a photo you are authorized to edit.


When a stamp sits on a dark object edge, inspect silhouette, texture, and shadow afterward. Watch for a softened corner, duplicated rock, or grain that suddenly disappears.
How these synthetic examples were produced
These inputs are part of a 10-image synthetic display set created without real users, brands, identity documents, signatures, or third-party watermarks. Each result was prepared with an AI-assisted image editor and removes one specified text region; no later hand retouching was applied. They are not outputs from a tested production RemoveTextPro build. Because the words and background were generated together, there is no pixel-perfect clean reference. We assess visible residue, line continuity, texture consistency, and canvas dimensions—not recovery of the original hidden pixels. These examples describe only these inputs and are not a guarantee for other images.
How to fix a result that still looks wrong
Diagnose the visible problem before repeating the same edit:
- The background is smooth or foggy: reduce the selection and process separate words or surfaces independently.
- A straight line bends or disappears: undo the edit, divide the mask at the line, and repair each side separately.
- The repaired color is close but not exact: compare at full size and check whether a shadow, gradient, or translucent caption box was left outside the mask.
- The letters are gone but a halo remains: include the text outline, glow, or shadow in a slightly expanded mask without covering unrelated detail.
- The entire image looks softer: compare pixel dimensions and file size with the original; avoid another JPEG save and export once at the highest available quality.
- A face, hand, or line drawing changed: stop enlarging the mask. The missing detail may require a manual editor and a reference image rather than another generative attempt.
Do not judge only from a small preview. Zooming out hides texture discontinuities; extreme zoom exaggerates harmless pixel-level differences. Review at 100%, then at the actual display size where the image will be used.
What our Reddit research does and does not show
For this guide, we reviewed public Reddit threads about text erasers, inpainting, Magic Eraser, manga cleanup, OCR masks, and background artifacts. The reports came from different tools and image types, so they do not prove that one editor is universally better. They do show a consistent vocabulary of failure: blurry, not blended, changed background, deleted lines, and imprecise selection.
The practical implication is straightforward: judge a text remover by background fidelity and local control, not by whether it can make letters disappear in a demo. A trustworthy test should preserve the original, disclose the source image and export format, show the result at useful resolution, and include failures as well as successful examples.
Sources consulted include public discussions in r/learnmachinelearning, r/StableDiffusion, r/GooglePixel, and r/computervision. Reddit skews toward technical and frustrated users, so these reports are evidence of recurring problems, not population-level statistics.
Frequently asked questions
Can text be removed without changing the background at all?
Only when the hidden background can be reconstructed convincingly. The pixels under the text are not available in the flattened image, so every removal method must infer, clone, or redraw them. Simple colors and repeating textures are usually easier; faces, line art, logos, and unique object edges need closer review and may require manual repair.
Why does an AI eraser change areas I did not select?
Automatic object detection may expand the mask, and generative reconstruction may use a larger context area than the visible selection. Use the smallest complete manual selection available, edit one region at a time, and compare the whole output with the original. If unrelated details keep changing, use a more local or manual repair method.
Is PNG always better than JPEG after text removal?
PNG avoids additional lossy compression, so it is useful for screenshots, graphics, line art, and images that will be edited again. It cannot restore detail already lost in a JPEG. For photographs, a high-quality JPEG exported once can be smaller and still look good; repeated JPEG saves are the bigger risk.
Should I crop the text out instead?
Crop only when the unwanted text is outside the important composition and the new aspect ratio is acceptable. Cropping a corner stamp may remove people, product detail, or framing. A local repair preserves the canvas dimensions but introduces reconstruction risk, so compare both options for the specific image.
What images are hardest to clean?
Text over faces, hands, logos, intricate clothing, dense foliage, fine line art, or unique product details is hardest because nearby pixels do not provide enough information to recover what was hidden. Treat the first output as a draft, keep the original, and use manual retouching when fidelity matters.
A clean result is not simply an image where the words have disappeared. It is an image where the repaired area follows the same texture, edges, lighting, and compression characteristics as everything around it—and where the limits of that reconstruction have been checked rather than hidden.